
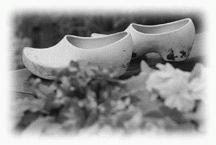
How do I make the edges of a photo fade?
Vignette a photo in Adobe® Photoshop®
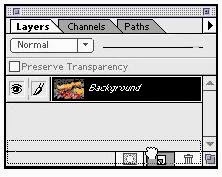
Copy Background layer
The Layers palette should be on the screen. Make a copy of the background layer. Either drag the background layer onto the New Layer icon in the Layers palette or select Duplicate layer... from the Layers pop-up menu
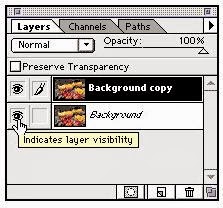
Hide the background layer
To do this, click on the eye on the left hand side of the Layers palette next to the background layer.
Select the photo
Hold down the Command key on the Macintosh or the Control key in Windows and click on the Background layer in the layers palette or draw around the image with the Marquee tool.
Create a Border
Go to the Select menu and drag down to Modify, then Border. Specify a width for the border. Experiment with different numbers, try 10-20 to start off. Too large a number might take too much of the photo away.

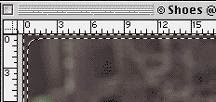
Feather the Border
Go to the Select menu again and this time choose Feather. Choose a radius again. The program will not allow a number more than half the size of the number used for the border to be used.

A double selection border appears around the image.
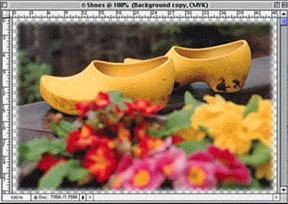
Fade the Edges
Press the Delete key on the keyboard and the edges will start to fade away. Press Delete one or two more times until the right effect is achieved. Try the Eraser tool for a slightly different effect.
Either Command-D on the Macintosh or Control-D in Windows, or go to the Select menu and choose Deselect.
Flatten the image
Choose Flatten Image from the Layers pop-up menu.
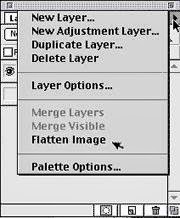
When the message Discard hidden layers? comes up, click OK.
Save File
Save as a TIFF file.
Make sure the mode is Grayscale for black and white photos, CMYK for color.
Note: **If this image will be placed on a colored background, enlarge the canvas, and fill the area around the image with the same color as the background color. Otherwise there will be a white halo around the image on the page.
Credit: https://www.yearbooks.biz/?event=FAQ.Detail&faq=39


No comments:
Post a Comment